Add a description to Auto Layout Title sections
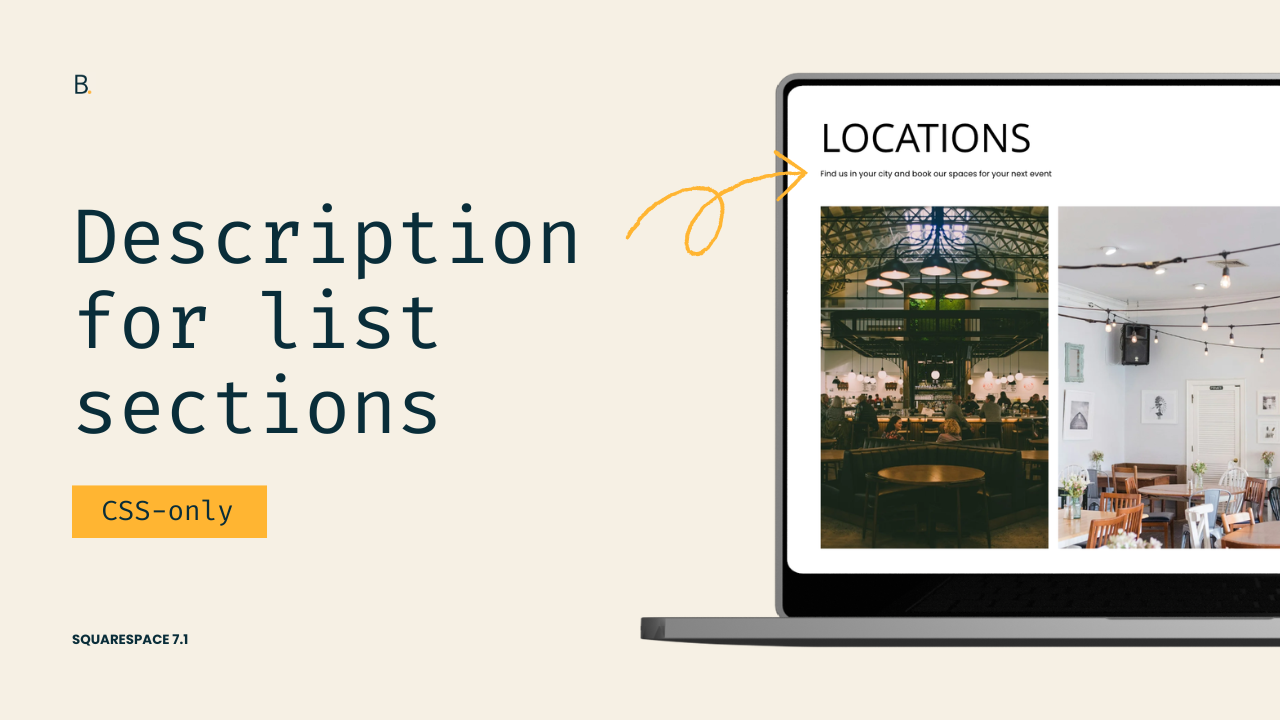
This tutorial explains how to create separately styled titles and descriptions within Squarespace list section headings using only CSS. Since Squarespace provides only a single input field for these section titles, the technique relies on manually differentiating the title portion by applying bold formatting, which wraps the selected text in strong tags within the HTML structure. By targeting the general .list-section-title styles for the description text and then overriding specific styles for the nested strong element, users can independently control typography properties such as font size, weight, line-height, font family, text transformation, spacing, and more. The approach works across multiple Squarespace 7.1 auto layout sections, including Carousel, Banner Slideshow, and Simple List layouts.
Yes.
Today I bring you another fix for a why-isn’t-this-a-feature situation.
Specifically, regarding both styling AND adding a description to the Title section of Auto Layouts/List Sections in Squarespace 7.1
I’ve been asked about this many times before, so you’re not alone.
This trick is really quick and requires no major prep before hand so, let’s jump right into it!
Video timestamps
00:00 - Introduction
Alright, so let's take a look at how you can style your list section title and include a description only with CSS.
The process to do this is the same as with any other text element on the site. You basically need to target that element and apply your styling properties. However, because we want to have a description and that's not a native option, we need to take one additional step in order to get everything ready so that we can apply our styles.
So here's how we're going to be tackling this today. First, we're going to be marking the portion of the text that we want to act as the title. Second, we're going to be targeting that part of the text separately from the rest of it. And last but not least, we're going to be adding styling properties to each separate snippet so that we can achieve the style in the demo.
Now, that first "marking" step is the key to the whole trick because we're adding all of the text inside the same input field. We're getting only one kind of element inside the HTML, so to be able to control what gets styled in one way versus the other, we need to manually differentiate one part of the text from the rest. And since we can't add HTML inside that field, then the way to do it is with one of the toolbar options.
01:10 - Marking the Title Text
Now, the way that I like and recommend doing this is by setting the title portion to bold. That is going to make Squarespace wrap that word or that sentence within <strong> tags, and those tags, because they appear inside the HTML, are going to be something that we can target via CSS.
So to save a little bit of time, I already have that setup inside this title section. You can see that I have the word "Locations" set to bold, and then I have the rest of the text down here, which is the one that is going to become my description.
So once you have this first part set up, then it's just a matter of targeting things separately. Let's go ahead and take a look at how we're gonna do that inside the Inspect Element tool.
01:52 - Targeting the Section Title
Now, because this customization is usually a very global one, I'm not going to be narrowing things down. We're going to be working with this common class of .list-section-title that belongs to all three kinds of auto layout sections: the Carousel, the Banner Slideshow, and the Simple List.
So let's go ahead and get started by adding that .list-section-title portion.
Now, as I mentioned in the beginning, we're going to have two separate snippets. One to style the title and one to style the rest of the text.
The way that I like to go about this is to style the whole text in general for this .list-section-title, and then have a second snippet that is going to be overriding those styles specifically for the title portion.
02:36 - Styling the Description Text
So let's go ahead and get started with the general styles. I'm going to be targeting the <p> elements that we have within this section, so let's go ahead and set that up and then see what happens here.
Let's set a font-size for the description as 1rem, and then I think I'm going to be editing the font-weight as well because this seems a little bit thicker than I'd like it to be. So I'm just going to set this to font-weight: normal.
Now you can see that because this element is also a <p> element, it's currently getting the same styles that we have applied to the description. However, here is where the bold text option comes in.
03:20 - Styling the Title Separately
If we take a closer look inside this first <p> element, we can see that now the "Locations" word is set within the <strong> tags.
So what we can do to be able to override the general styles that we have set for the description is now to target the strong element within the .list-section-title. So that is going to look like this.
And now, if I set a different font size to this, something bigger because I want my title to be bigger, something like 5rem, you can see how now this is only going to alter that strong text that I have within the title field.
And from here, we can go ahead and do anything else we want to this text. Let's modify the font-weight of this as well because since this one is a bolded element, it looks bolder than I would actually like it to be. So I'm gonna set this one to normal as well.
04:11 - Adjusting the Final Styles
Now, the next thing I wanna do is actually increase the line-height of the title because it feels a little bit too close to the description.
I could absolutely give this a margin at the bottom to create that spacing, but if you have a title that has multiple words, it's most likely that you're gonna want to edit the line-height anyway. So let's go ahead and do that.
And now, why don't we go ahead and change the font-family of this. Alright, perfect.
And then, how about we set this to text-transform: uppercase.
Here, you can continue to modify things if you wanted to. If you want to change the color of it, if you want to change the spacing between letters, if you want to underline this, whatever it is, whatever kind of property that you usually add to text elements, you can implement these here as well.
TL;DR
You can fake a separate title + description setup in Squarespace using only CSS.
The trick is to bold the “title” portion so Squarespace wraps it in
<strong>tags in the HTML structure.Then you can style the regular text as the description and override the bold text separately as the title.
You can customize things like font size, spacing, uppercase styling, line-height, colors, and more.
Plus, it works across all Auto Layout sections: Carousels, Banner Slideshows, and Simple Lists!
Hope you found this one helpful!
Until next time,
B.
Full code
Custom CSS Window
/*STYLING AND ADDING A DESCRIPTION TO THE TITLE OF LIST SECTIONS IN SQUARESPACE 7.1*/
//General styles (description)
.list-section-title p {
  font-size: 1rem;
  font-weight: normal;
}

//Title styles
.list-section-title strong {
  font-family: 'Open Sans';
  font-size: 5rem;
  font-weight: normal;
  line-height: 1.5em;
  text-transform: uppercase;
}