
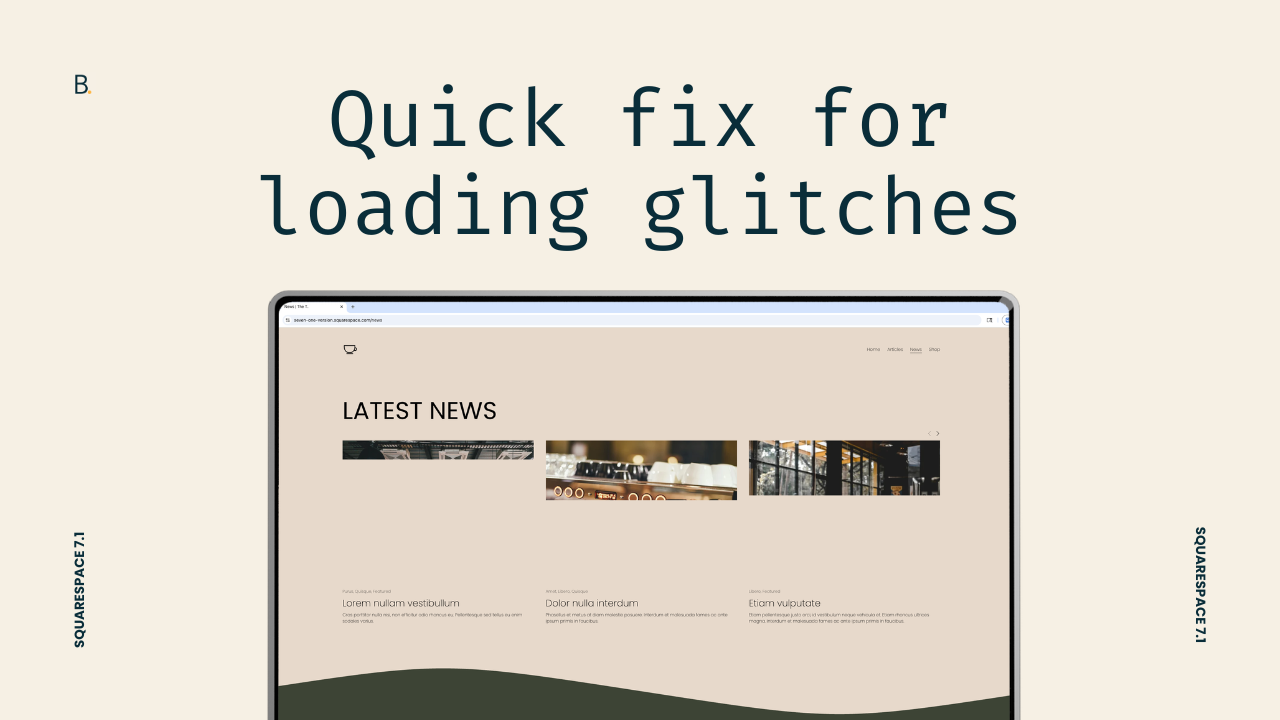
A CSS trick to stop loading glitches in Squarespace 7.1
How to stop loading flickers in Squarespace 7.1
This tutorial demonstrates how to eliminate visual loading glitches in Squarespace 7.1 by using a CSS-based content delay animation instead of trying to fix underlying structural causes like heavy media or layout components. The approach involves selecting a container such as the full site wrapper or a specific section, setting its initial opacity to zero, and then creating a simple @keyframes animation that transitions it to full visibility. By applying the animation with a controlled duration, delay, and a “forwards” fill mode, the page content is revealed only after backend rendering stabilizes, resulting in a smoother, more polished user experience. The timing values can be adjusted depending on the complexity of the page, allowing for flexible implementation across different sections or entire sites.
I get it.
Loading screens can feel like overkill.
But, sometimes, it's the only solution you have on hand to hide those freakin' block or divider flashes that show up on page load.
It's frustrating when you keep running into the issue, even after you've already taken care of what you're "supposed to do" to help page load.
All images are under 250kb (or 500kb by Squarespace advice), there aren't "too many blocks" on the page (who knows what too many is btw), all the CSS you're using is clean of unnecessary snippets, and all the scripts are in the Footer area to load after the content (at least, those that don't need to be in the Header).
We may not be able to access the root cause of the problem when it's a native template thing, but we can sure as hell still disguise it – subtly – with a small bit of code.
This is exactly how I handle it on client projects, when no other optimization does the trick and a page redesign isn't an option.
It has saved my sanity before, and I hope it saves yours too! Let’s go.
Video timestamps
00:00 - The Culprit Behind the Glitch
Let's take a look at how we can get rid of these loading glitches in Squarespace 7.1 for any of your client projects. Now these flashes on the screen don't always show up on heavy-coded sites, they also show up on simpler ones, and they're mainly caused due to things like section dividers, video backgrounds, heavy imagery, and even collection blocks like Summary Blocks on the top hero area. In those cases we can't quite fix the underlying issue, but we CAN get around it without having to use something as obvious as a loading screen or the sitewide animations.
00:32 - Overview of the Fix
So today I wanna show you the solution that I implement on client sites when there's nothing else to optimize, nothing to fix, nothing can be removed, and I need to get rid of those glitches. And that is to create a content delay loading animation that looks like this. To implement it we only need to take three steps. First we need to pick the container that we want to animate, second we need to create the animation and third we need to link that animation to the container we chose in the first step. So without further ado let's go ahead and jump into the code.
01:01 - Choosing Your Container
So first here I'm going to decide which container I want to target. Now this can vary depending on when or where you want to add the animation. If you want to hide everything including header, footer and the content area, what I would recommend working with is either the body tag or this container that has an ID of #siteWrapper.
So this one is holding everything including this little floating cart button that only shows up in certain cases when you have a shop on the site and then you have this option selected. And then we have the header element in its entirety, we have the whole main area that's holding all of the content inside the page, and then here we have the footer section. So again you can choose if you want to just animate one of these parts of the page.
For example if you just want to animate the content portion then that would mean selecting this container that has an ID of #page instead of the one that I'm gonna be working with. If you want to animate only the footer and the header for example then you can select those containers instead.
As I said I'm going to be animating everything here on my page, so I'm going to be working with this big wrapper that's called #siteWrapper. I'm going to grab the ID of this container and I'm gonna add it inside my Custom CSS Window. And then now what I'm gonna do is I'm going to set the initial state that this element is going to have on page load. So I don't want this to show up until I tell it to, so I'm gonna start with an opacity of zero to be able to hide everything that I have on the screen.
02:43 - Creating the Animation
Now the next step here is going to be to create the animation.
We're going to be using @keyframes to be able to build this. So we're going to create our @keyframes animation and we're going to give it a name. I'm just gonna call this one reveal but feel free to use any other name that you like, just make sure to adjust it later on in the other part of the code. So once I have my @keyframes reveal name here then all I need to do is include the steps that this animation is going to take, which in this case is going to be just one, which is the final one, it's just to bring everything back to an opacity of one.
So I can use in here either 100% or the keyword of to to refer to that last step that I want to target in the animation. So once I have that there I just need to decide or tell the browser really what we're going to do, so we want the reveal to go to an opacity of 1, or the animation to go to the final step of opacity one, and with that in place all we need to do now is just go back into the original container that we're targeting and add in our animation.
03:48 - Applying the Animation
So here's where you can get a little bit creative.
Depending on how smooth you want the animation transition to be, you can change the timing of it. So first we're going to just add in the name of our animation, because otherwise the browser doesn't really know which animation we want to work with.
Then we're going to add in that slow transition, so this could range from zero seconds to whichever number you like. So again this is going to be the time it takes from opacity zero to change to opacity of one, this is just going to be that transition period.
So I think I'm going to make it .5s just to make it really obvious at first, and then we're going to adjust from there. Now the next thing here and this is important, we need to set the direction of the animation, because we don't want this to flow from opacity: 0 to opacity: 1 and then back to opacity: 0, we want it to stick on that final state. So we're going to be using here the keyword of forwards to tell the browser that we want the animation to go into that final step and stop there. And then lastly we're going to be adding the delay. So this is going to be the time is going to take for the animation to run after the page has loaded.
This is where we're going to set the time we want to wait to see everything on the screen so that there's enough room for everything to reorganize in the backend where the user is not seeing it before it's brought up into display.
So let's set this to again, I'm gonna make it kind of obvious, so let's make it one second, alright? So once we have that there we're gonna see the example here in the backend, but I actually want to load the Live site to see the final result.
05:24 - Testing and Adjusting Values
Alright so let's go ahead and test it out here. If I refresh the page you can see how after 1 second, you can try to count it, but after 1 second everything loads on the page and you can see how it sort of dims into the screen, it doesn't come in abruptly. So that is because of that small transition that I added in there of point five seconds. I'm gonna show you the difference with a couple of values so that you can adjust it based on your needs.
But from the get go you can see that this is a much sleeker and sort of like smoother entry into the website than having everything just sort of click into position while the person is seeing the site.
Let's go ahead and adjust this number here, so if I were to leave the delay as 1 second and then set this to 0 seconds so that there is no transition between opacity: 0 and opacity: 1, then this is what we would see if I refresh the page.
You can see how after one second everything sort of like jumps into the screen, so again there's no smooth period between that opacity: 0 and opacity: 1, it just goes into the screen after that one second wait period, so if I load here again you can see the same thing. If I were to make that really slow, so if I were to set this to 1 second as well, then you're going to see a different effect. So after 1 second, because I haven't changed the delay, it takes 1 second for everything to load on the screen which gives you more of a loading screen kind of look without the actual loading screen.
And then if I were to modify the delay, let's put this back to point five seconds, if I were to make the delay a little bit longer, making that 2 seconds, if I refresh this now the page or the browser waits 2 seconds before everything is brought in at point five seconds in time.
07:44 - Final Recommendation
So again seeing how these numbers work you can go ahead and adjust this based on how heavy your hero areas are and of course you could implement this on a page by page basis if you needed to make slight time adjustments for each of the pages.
But in general I would recommend having the same time for everything, just leaving the whole code inside your Custom CSS Window.
TL;DR
Squarespace glitches often come from heavy elements (videos, images, dividers, summary blocks), on heavy sites as well as minimal ones.
When everything has already been optimized and there’s nothing else to do… there’s a CSS trick that can help: delaying content visibility through a CSS animation.
Implementing it requires only 3 steps: targeting the area that should be hidden on page load, creating the animation, and linking the animation to the chosen area.
With this small amount of code, you’ll be able to give your client a smoother entry into their website without the use of a loading screen.
Try it out on your next project!
Until next time,
B.
Full code
Custom CSS Window
/*CONTENT DELAY LOADING ANIMATION FOR SQUARESPACE 7.1*/
#siteWrapper {
  animation: reveal .5s forwards .1s;
  opacity: 0;
}
@keyframes reveal {
  to {
    opacity: 1;
  }
}